Speed Up Windows: Removing Bloatware
Maximize Performance: The Ultimate Guide to Speeding Up Windows by Removing Bloatware
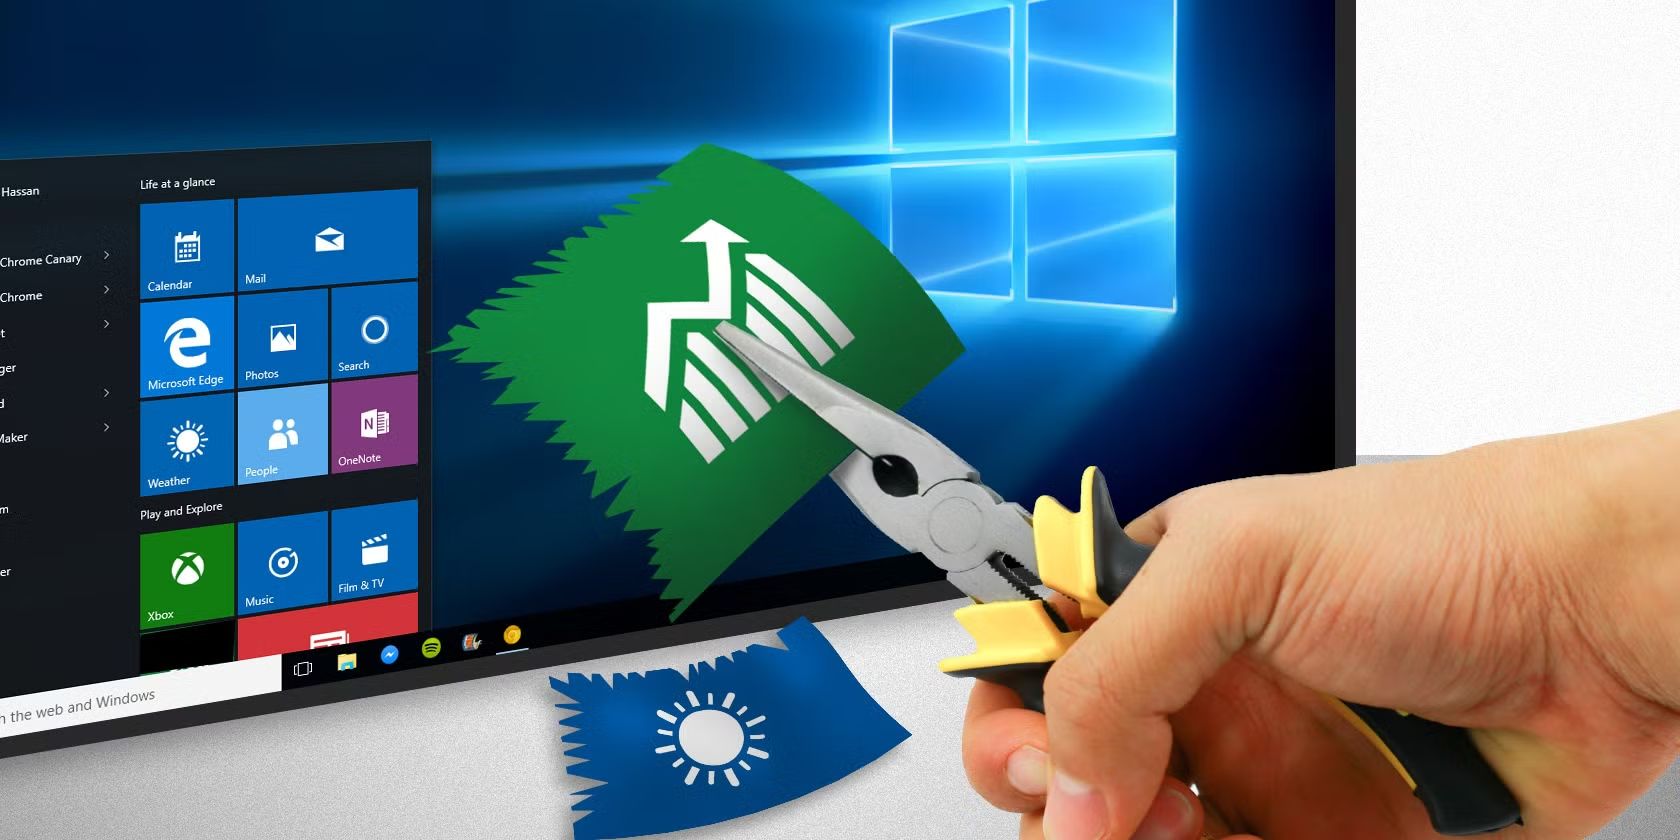
You boot up your new Windows PC, full of excitement. Then, it drags. Apps take forever to load. Your machine feels sluggish right out of the box. This is bloatware at work. Bloatware means pre-installed software, trial versions, and useless system tools that come with Windows or from your PC maker. They eat up RAM, hog CPU power, and slow startup. You end up with less space on your drive too.
Think of bloatware like extra junk in your garage. It crowds the space you need for real work. Removing it frees resources. Your PC boots faster. Apps run smooth. You get more storage back right away. This guide shows you how to spot and kill bloatware. We cover safe steps for beginners and tips for pros. Follow along to speed up Windows and make it yours.
Understanding the Enemy: Identifying Windows Bloatware
Spot the problem first. That helps you fight it right.
What Exactly is Bloatware?
Bloatware shows up in many forms on Windows. OEM software from makers like Dell or HP includes tools for tweaks you might not want. Carrier trialware comes from phone bundles, pushing apps like antivirus trials. Then there’s crapware that Windows slips in during updates. Think third-party apps like games or promo software that pop up uninvited.
Not all pre-installed stuff is bad. Essential services keep your system safe and running. But non-essential apps? They just sit there. They take space and run quietly. You can tell them apart by checking if you use them. If not, they are bloat.
For example, many new laptops have McAfee trials or HP bloat. These eat resources without adding value.
Locating Hidden Resource Hogs
Use built-in tools to find these culprits. Start with Task Manager. Press Ctrl + Shift + Esc to open it. Go to the Processes tab. Sort by CPU or Memory to see top users.
Check the Startup tab next. It lists apps that launch at boot. High impact ones slow you down most. Then head to Settings. Click Apps. Sort by size or install date. Look for unknowns.
Here’s a quick list to spot them:
- Scan for names like “Candy Crush” or “Xbox Game Bar” if you don’t game.
- Check for manufacturer apps, such as “Dell SupportAssist” if you skip support.
- Note any trials over 30 days old.
These steps reveal auto-starters that drag your boot time. A clean list means quicker launches.
The Hidden Costs: Performance Metrics Affected
Bloatware hits hard on your system’s speed. Background processes chew CPU cycles. Your fan spins more. Tasks lag as a result.
Memory leaks are another killer. Apps grab RAM and don’t let go. You end up with less for your browser or work files. This makes switching apps feel choppy.
Drives get cluttered too. Bloat fills space with files. This slows reads and writes. I/O operations drag. Studies show bloat can add 20-30% to boot times on fresh installs. Remove it, and you cut that waste. Your PC feels new again.
Tier 1 Cleanup: Safe Removal Methods for Non-System Apps
Start simple. Tackle easy wins first. This builds speed without risks.
Utilizing Windows Settings for Uninstallation
The safest way to remove bloatware is through Settings. Open it with Windows key + I. Go to Apps & Features. Scroll the list.
Find the app you don’t need. Click it. Hit Uninstall. Confirm and let it run. Right-click in the list for a quicker option.
Be careful here. Don’t rush. Some apps look harmless but tie to drivers. Research if unsure. For instance, skip uninstalling core audio tools. This method clears most trials clean.
After, restart your PC. Check Task Manager. You should see less load already.
Command Prompt and PowerShell Batch Removal (For Advanced Users)
For stubborn apps, use PowerShell. Right-click Start. Pick Windows PowerShell (Admin). You need admin rights.
Type this to list Store apps: Get-AppxPackage. See the list. To remove one, like Candy Crush, use: Get-AppxPackage candy | Remove-AppxPackage.
Batch remove defaults with: Get-AppxPackage | Remove-AppxPackage. But skip essentials like Calculator. Target specifics like Xbox: Get-AppxPackage xbox | Remove-AppxPackage.
Run commands one by one. Watch for errors. This zaps resistant bloat fast. Your system lightens up without third-party help.
Third-Party Uninstaller Tools: Pros and Cons
Tools like Revo Uninstaller go deeper. They scan for leftovers in the registry. Standard uninstalls miss these bits. Revo finds and wipes them.
Pros include full cleans. You avoid hidden files that slow scans. Cons? Pick trusted ones. Free versions work, but watch ads. Avoid shady downloads that add more bloat.
Tech pros swear by them for tough jobs. Use if Windows misses something. Always scan with antivirus first. This keeps your cleanup safe.
Tier 2 Optimization: Tackling Built-in Windows Clutter
Go further now. Hit Windows’ own extras. These build up over time.
Disabling Unnecessary Startup Items
Startup clutter is a big drag. Open Task Manager again. Click the Startup tab.
Look at the Startup Impact column. High means trouble. Right-click non-essentials. Choose Disable.
Keep antivirus and drivers on. Ditch cloud sync if you manual upload. Updater tools? Turn them off unless critical.
Steps:
- Sort by impact.
- Disable one by one.
- Restart to test.
This cuts boot time by seconds. Your desktop pops up quick.
Managing Background Apps and Permissions
Background apps sneak resources. Go to Settings. Pick Privacy. Then Background apps.
Toggle off what you don’t need. Like weather widgets or unused media players. Set Let apps run in background to Off for extras.
This stops phantom CPU use. Apps won’t hog when closed. You gain RAM for real tasks. Check monthly as updates add more.
Deactivating Unused Windows Features
Windows packs features you skip. Search for “Turn Windows features on or off.” It opens a list.
Uncheck XPS Viewer if no printing needs. Ditch legacy media if you stream modern. Internet Explorer? Off unless required.
Click OK. It takes time to apply. This frees disk space. Updates run smoother too. Pick what fits your use.
Advanced Taming: Registry Edits and Service Management (Use With Caution)
Deeper cuts need care. Wrong moves can break things. Backup first.
Selective Service Disablement
Services run hidden. Press Windows + R. Type services.msc. Hit Enter.
Find ones linked to gone bloat. Like Fax if no fax machine. Right-click. Properties. Set Startup type to Manual or Disabled.
Be sure. Research each. Printer spooler? Disable if no printer. This cuts idle CPU.
Warnings matter. Don’t touch core like Windows Update. Test after changes. Revert if issues pop.
Eliminating Telemetry and Diagnostic Data Collection
Telemetry sends data to Microsoft. It uses CPU and disk quiet-like. Not pure bloat, but it adds drag.
For Windows Pro, use Group Policy. Search gpedit.msc. Go to Computer Configuration > Administrative Templates > Windows Components > Data Collection. Set to Disabled.
Home users tweak registry. Press Windows + R. Type regedit. Navigate to HKEY_LOCAL_MACHINE\SOFTWARE\Policies\Microsoft\Windows\DataCollection. Add DWORD AllowTelemetry set to 0.
This cuts reporting. Less background buzz. Use if privacy matters. Restart to apply.
Maintaining a Bloat-Free System Moving Forward
One cleanup isn’t enough. Stay on top. Bloat creeps back.
Setting Up Clean Install Procedures
For big refreshes, do a clean install. During PC upgrades, wipe and reinstall Windows fresh. Skip restore points that bring junk.
Use a USB boot drive. Download ISO from Microsoft. Install bare. Add only what you need.
This avoids OEM bloat entirely. Your system starts pure. Ideal for old machines too.
Regular Audits for New Bloat
Make it routine. Check apps monthly. Open Settings > Apps. Uninstall fresh adds.
Review Startup in Task Manager. Disable new high-impact items. Updates sometimes bundle extras.
Set reminders. A quick scan keeps speed high. You avoid slow build-up.
Conclusion: The Reclaimed Power of Your PC
Removing bloatware transforms your Windows setup. Boot times drop. Apps respond fast. Stability rises as resources free up.
You learned to spot it, remove safe, and optimize deep. From Settings to PowerShell, each step reclaims power. Maintenance keeps it going.
Enjoy your quicker PC now. Dive in. Feel the difference today.